Making shoes to support injured toes
|
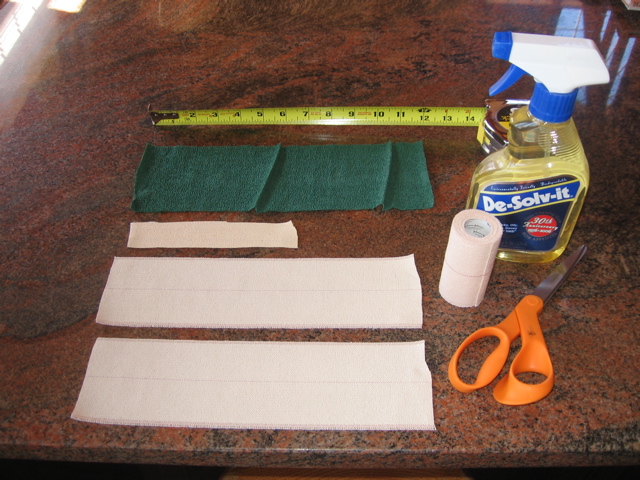 | 1. Materials required for one shoe:
- One 6" long strip of 1" Elastikon
- Two 12" long strips of 3" Elastikon (if your dog has tiny feet or the shoe is on the rear foot, 2" Elastikon might be more appropriate)
- (Green vet wrap optional)
- Scissors
- Solvent for removal of tape (Recommend De-Solv-It citrus oil, but baby oil, olive oil etc. will work)
|
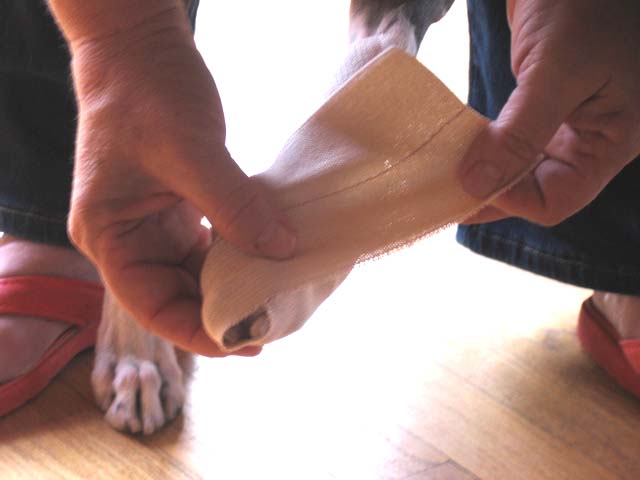
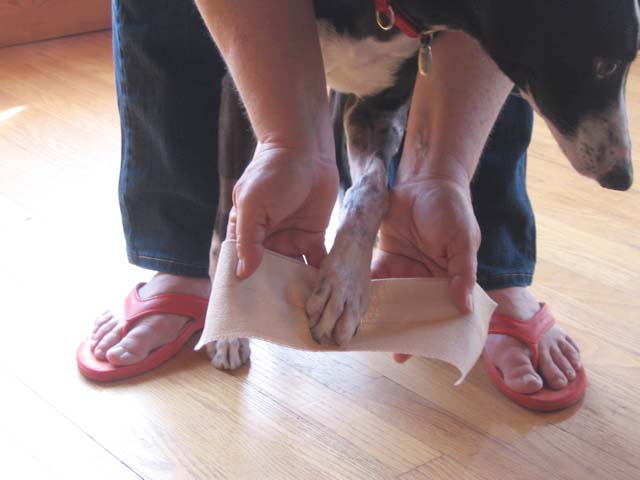 | 2. Place injured foot in the center of the wide Elastikon strip with the toenails on the front edge of the tape. |
 | 3. Pull tape across foot, from outside to inside at approx. a 45 degree angle, gently stretching the front edge of the tape but leaving the back edge unstretched. |
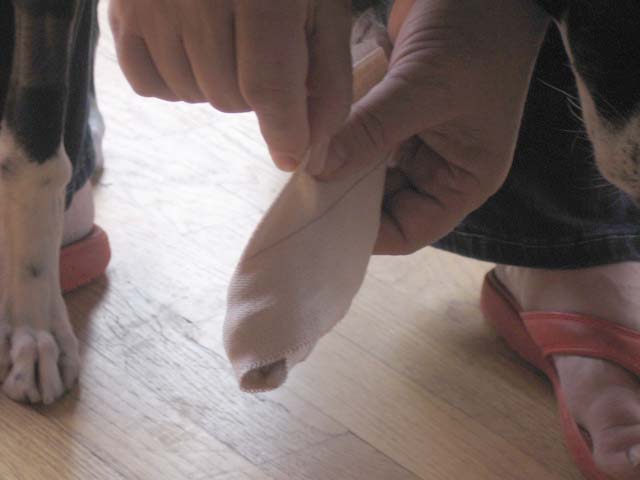
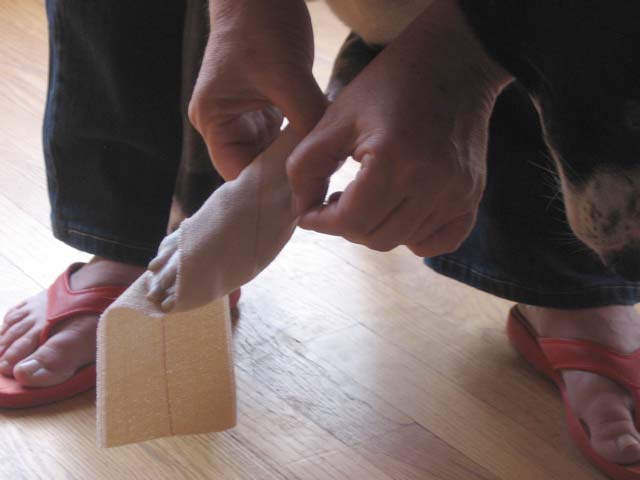 | 4. Wrap excess tape around back of pastern and press to stick down. Pinch gapped tape at outside edge near heel to create pleat. |
 | 5. Pull tape across foot from inside to outside at approx. a 45 degree angle, gently stretching the front edge of the tape but leaving the back edge unstretched. |
 | 6. Wrap excess tape around back of pastern and press to stick down. Pinch gapped tape at outside edge near heel to create pleat. |
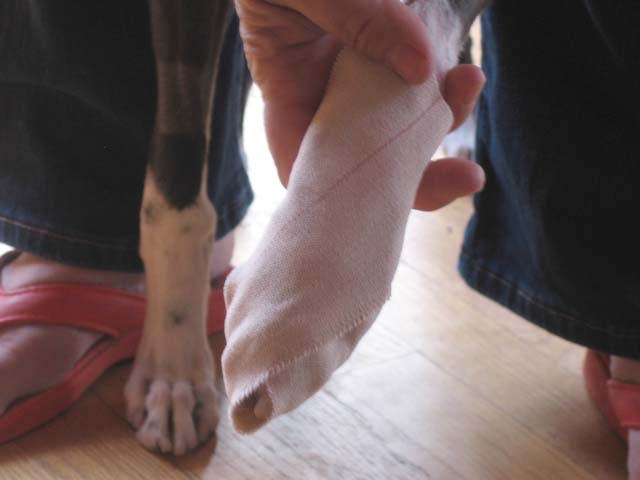 | 7. Properly made, the shoe will be pointed in the front. It will be tight enough at the point to keep the toes from sliding out but not so tight as to cause blisters on the knuckles. The back of the shoe will be loose and roomy. |
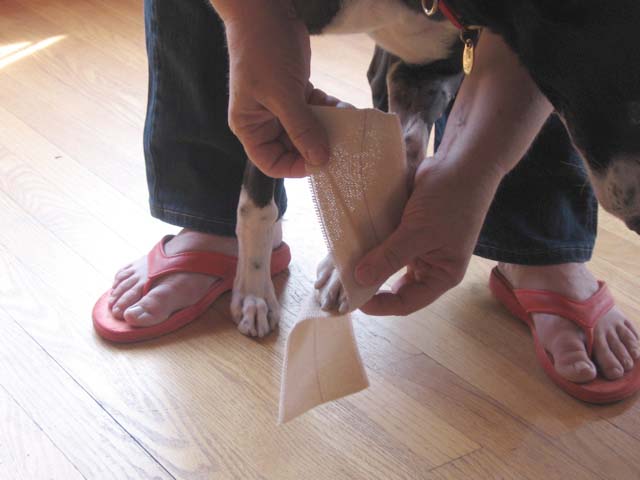
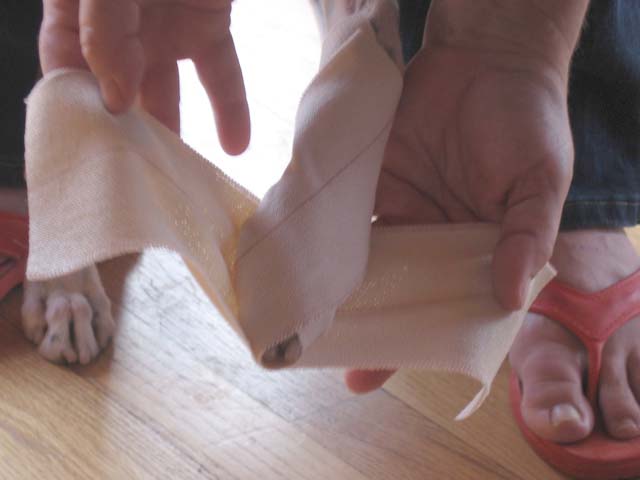 | 8. Repeat steps 2. through 7. to add another layer of tape. |
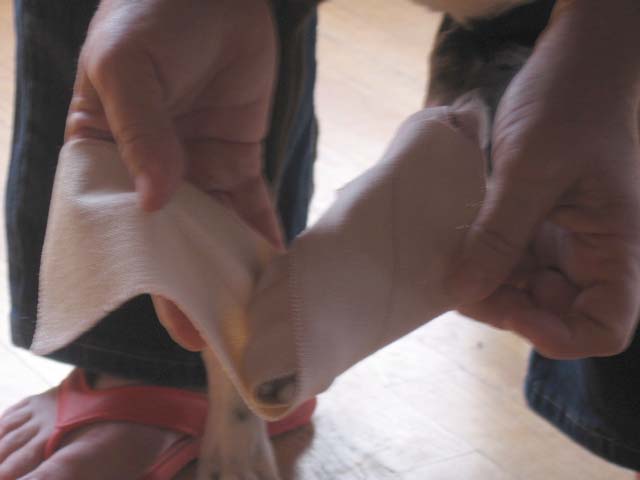 | 9. Illustrating application of the second layer of tape. Complete the shoe by using a strip of 1" Elastikon around the top of the pastern, just below the stopper pad to keep the shoe from coming undone.
Highly recommend putting shoes on both the left and right feet even if only one foot is injured. |